

A new patio can look perfect on the day it is finished and still cause problems a year later. Puddles that linger after rain, green slime on the slabs, damp patches on the house wall, and joints that keep washing out all point to the same problem: water has nowhere sensible to go.
Good drainage is not an optional extra. It is part of how a patio is designed and built, and it decides whether the surface stays level, safe underfoot and attractive for decades. This guide explains how water behaves on a patio, the drainage options available to UK homeowners, the rules worth knowing about, and how to spot problems before they become expensive.
Why Patio Drainage Matters More Than People Expect
Rain that sits on or under a patio does damage in several ways.
- Slip risk: standing water encourages algae and moss, which make slabs slippery. In winter, the same water freezes into ice.
- Movement and sinking: water that soaks into the sub-base can wash away fine material, leaving voids that cause slabs to rock, crack, or settle.
- Frost damage: water trapped in porous paving or joints expands as it freezes, which can flake the surface and open joints.
- Damp in the house: if water runs towards the property, it can raise moisture levels at the base of the walls and, in bad cases, bridge the damp-proof course.
- Waterlogged gardens: hard surfaces shed far more water than a lawn. Without a plan, all of that water ends up in one low spot, often next to a neighbour’s fence.
Where the Water Actually Goes
Think of a patio as a small catchment area. Rainwater lands on the surface and does one of three things: it runs off, soaks through, or pools. Drainage design is simply about deciding which of these happens and where the water ends up.
The ground underneath matters just as much as the paving. Much of north London and Hertfordshire sits on heavy clay, which drains slowly and holds water. A patio laid on clay needs more careful planning than one laid on free-draining sandy soil, because the ground below will not take much water away on its own.
Every patio sends rainwater in one of four directions. A well-designed patio chooses which one on purpose.
Knowing which of these is happening on your patio tells you what to fix. A puddle in the middle points to a low spot, a wet wall points to the wrong fall, and a soggy lawn beyond the edge means the garden cannot take the water.
How Much Slope Does a Patio Need?
The simplest, most reliable drainage is a slight slope across the patio, known as the fall. It should be gentle enough that nobody notices it, yet steep enough to move water along.
- A gradient of roughly 1 in 80 is a widely used guide for most paved areas. Some installers go slightly steeper for large-format porcelain or smooth stone, where water sheets off more slowly.
- The fall must always lead away from the house and towards a lawn, a border, a gully or a drainage channel.
- The finished surface should sit at least 150mm below the damp proof course of the house wall, so splashing rain cannot reach it.
It’s easy to build in a fall at the start and very difficult to correct later. This is why a patio laid by eye often disappoints, even when the slabs themselves are high quality.
Types of Patio Drainage in the UK
1. Run-off onto a lawn or planted border
For small and medium patios, the most natural option is to let the water run off the edge onto soil or grass. It works well when the garden is free-draining and the patio edge sits slightly above the surrounding ground. It is a poor choice on compacted clay or where the lawn is already boggy in winter.
2. Linear drainage channels
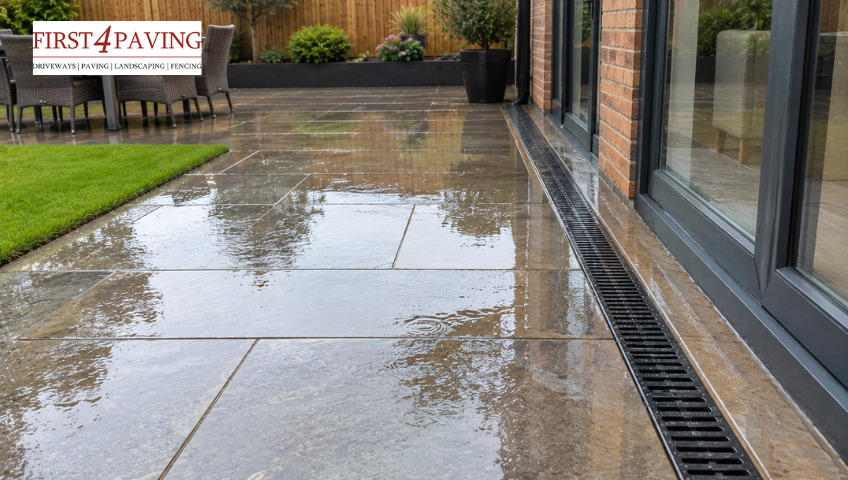
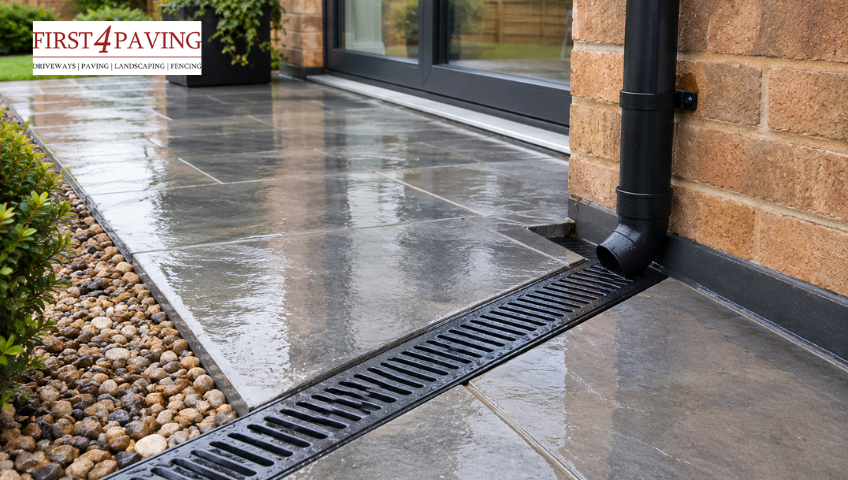
A slot or grated channel is set into the paving, usually along the edge where the patio meets the house or a set of patio doors. It catches water before it can reach the threshold. Channels are particularly useful for level-access doorways, where there is no step to hold water back. They need to connect to a suitable outlet and need cleaning from time to time, as leaves and silt can clog them.
3. Soakaways
A soakaway is a pit filled with rubble or lined with crates that lets collected water drain slowly into the ground. It suits free-draining soil and is a sensible way to deal with water from a larger patio without using the mains drains. Building guidance generally expects a soakaway to be well away from buildings, with 5 metres a commonly quoted minimum, so a small town garden does not always have room for one. On heavy clay, a soakaway may fill up, so a percolation test is worth doing before you dig anything.
4. French drains
A French drain is a trench containing gravel and a perforated pipe, wrapped in geotextile membrane. It collects surface and shallow groundwater along its length and carries it to a lower part of the garden or to a soakaway. It suits patios built into a slope, where water arrives from higher ground as well as from the sky.
5. Permeable paving
Permeable paving lets water pass through the joints, or through the paving itself, into an open-graded stone sub-base that stores it and releases it slowly. It reduces run-off at the source and is often the neatest answer for front gardens and tight spaces. It does need the right laying course, jointing material, and sub-base, and the joints need occasional brushing to prevent silting.
6. Rain gardens and planted drainage
A shallow planted dip beside the patio can take roof and patio water and let it soak away gradually. It is attractive, good for wildlife, and a useful way to slow water down. It works best where the soil can absorb it.
7. Connecting to a drain
Where nothing else is practical, you can route patio water to an existing surface water drain. This isn’t always allowed or sensible, because many properties have combined sewers, and connecting new surface water to them may require approval from the water company. Check this before any work starts.
How to Choose the Right Option for patio drainage
| Situation | Often suitable |
|---|---|
| Small patio, free-draining lawn beside it | Gentle fall onto the lawn |
| Level threshold at patio doors | Linear channel along the door line plus a fall away from it |
| Large patio on clay soil | Fall to a French drain or channel, with a controlled outlet |
| Patio cut into a slope | French drain at the high side to intercept water |
| Front garden or tight space | Permeable paving with a suitable sub-base |
| Free-draining soil, space available | Soakaway, after a percolation test |
These are starting points, not rules. Soil type, area size, house wall height, and the position of neighbouring properties all affect the answer, which is why a site visit is better than a guess.
Rules and Regulations to Be Aware Of
- Front gardens: in England, paving over more than 5 square metres of a front garden with a non-porous surface needs planning permission, unless the rainwater drains to a lawn or border, or the surface is permeable.
- Building Regulations: drainage that connects to a sewer or drain, or that is built close to a building, can fall under Part H (drainage and waste disposal) of the Building Regulations.
- Water company permission: connecting surface water to a public sewer usually needs consent.
- Neighbours: water must not be directed onto someone else’s land. This is both a courtesy and a legal issue.
Rules can change, and local conditions vary, so check the current guidance on the Planning Portal or with your local council before starting work.
What Good Construction Looks Like
Drainage is built into the layers below the surface, not added on top. A well-built patio generally includes:
- Excavation to the correct depth, with the formation level already shaped to the required fall.
- A compacted sub-base of suitable crushed stone, thick enough for the ground conditions and the expected use.
- A laying course of the right material for the paving type.
- Correct jointing, using a material that suits the paving and, where needed, allows water through.
- Edge restraint, so the patio cannot spread or shift over time.
- An outlet, whether a lawn, channel, drain, or soakaway, planned from the start.
Skipping the sub-base or compacting it poorly is one of the most common reasons patios fail, and it makes every drainage problem worse.
Signs Your Patio Has a Drainage Problem
Most drainage problems give early warnings. After a spell of heavy rain, look out for these signs:
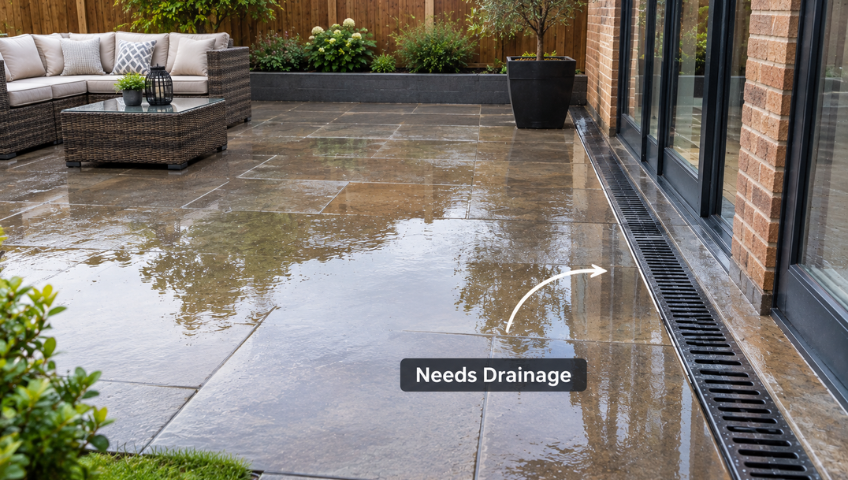
- Puddles that remain for more than a few hours after rain
- Green or black algae that returns quickly, especially in the same spots
- Slabs that rock, sink or have gaps beneath them
- Joints that are washed out or keep growing weeds
- Damp marks or salt deposits low down on the house wall
- Water running towards the property or into a neighbour’s garden
- A soggy patch of lawn just beyond the patio edge
What to Do If Your Existing Patio Holds Water
The right fix depends on the cause. A few options, in rough order of effort:
- Clear and clean: blocked channels, gullies and joints are often the real culprit. Professional cleaning can restore performance on a patio that is basically sound.
- Re-joint: replacing failed jointing material stops water from washing out the bedding underneath.
- Add a channel: a linear drain can be cut in at a doorway or low point without rebuilding the whole area.
- Relay the affected area: where the fall is wrong, or the sub-base has failed, lifting and relaying the paving is the only lasting repair.
At First 4 Paving, patio drainage is part of every patio we build and repair. Our professional installers have offered driveway and patio cleaning services in Enfield and Hertfordshire since 1998, and they check the fall, sub-base, and outlet before laying a single slab. If your patio already has a problem, we find the real cause first, then recommend the simplest repair that will last, whether that is cleaning, re-jointing, a new drainage channel, or relaying the affected area. All of our work meets British Standards and uses quality materials from suppliers such as Marshalls and Hanson. You get a free design and estimate, no deposit, and nothing to pay until the job is complete.
Get Your Free, No-Obligation Patio Quote
Is your patio staying wet, or are you worried about water near your house? Call us now or request a free quote, and we will arrange a visit.
Frequently Asked Questions
Does every patio need a drain?
Not always. Many patios drain perfectly well with a correct fall onto a lawn or border. Drains and channels matter where the ground is poor, where the patio meets a level threshold, or where surface water has nowhere to go.
Can I fix standing water without relaying the patio?
Sometimes. If the problem is blocked joints or a missing outlet, cleaning, re-jointing or adding a channel may solve it. If the fall is wrong across the whole surface, you usually need to relay.
Is permeable paving a good idea on clay soil?
It can be, but the sub-base must be designed to hold and release water, and in some cases you’ll need a piped outlet because clay will not absorb it quickly.
Do I need permission for patio drainage?
Often not for a back garden patio draining onto your own land. Front gardens, connections to public sewers and larger schemes are more likely to need permission or approval. Check before you start.