Things to Do in Enfield: Complete Visitor Guide
Things to Do in Enfield: A Complete Guide to Exploring the Area
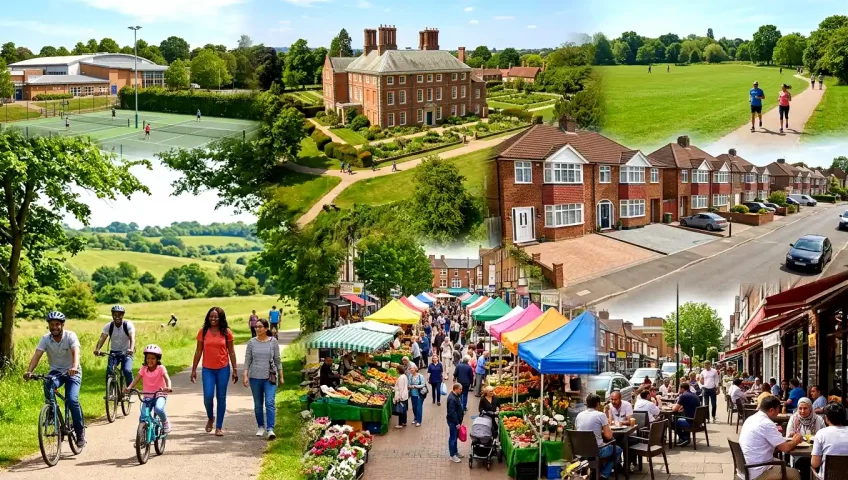
This North London borough is one of the most appealing parts of the capital for visitors and residents alike. If you are searching for the best things to do in Enfield, you will discover an area filled with history, green spaces, shopping destinations, and family-friendly attractions. It offers a wonderful mix of heritage, nature, culture, shopping, and entertainment. Whether you are visiting for a weekend, planning a family day out, or considering moving to the area, there is plenty to enjoy.
From historic estates and beautiful parks to bustling shopping areas and diverse restaurants, the borough provides countless opportunities for exploration. Its welcoming atmosphere and strong sense of community have helped make it one of the most popular areas in North London. If you are wondering how to spend your time here, this guide covers some of the best things to do in Enfield.
Discover the Best Places to Visit and Things to Do in Enfield
Discover the Borough’s Historic Heritage
The area has a rich history that stretches back centuries, and many of its historic attractions continue to draw visitors throughout the year.
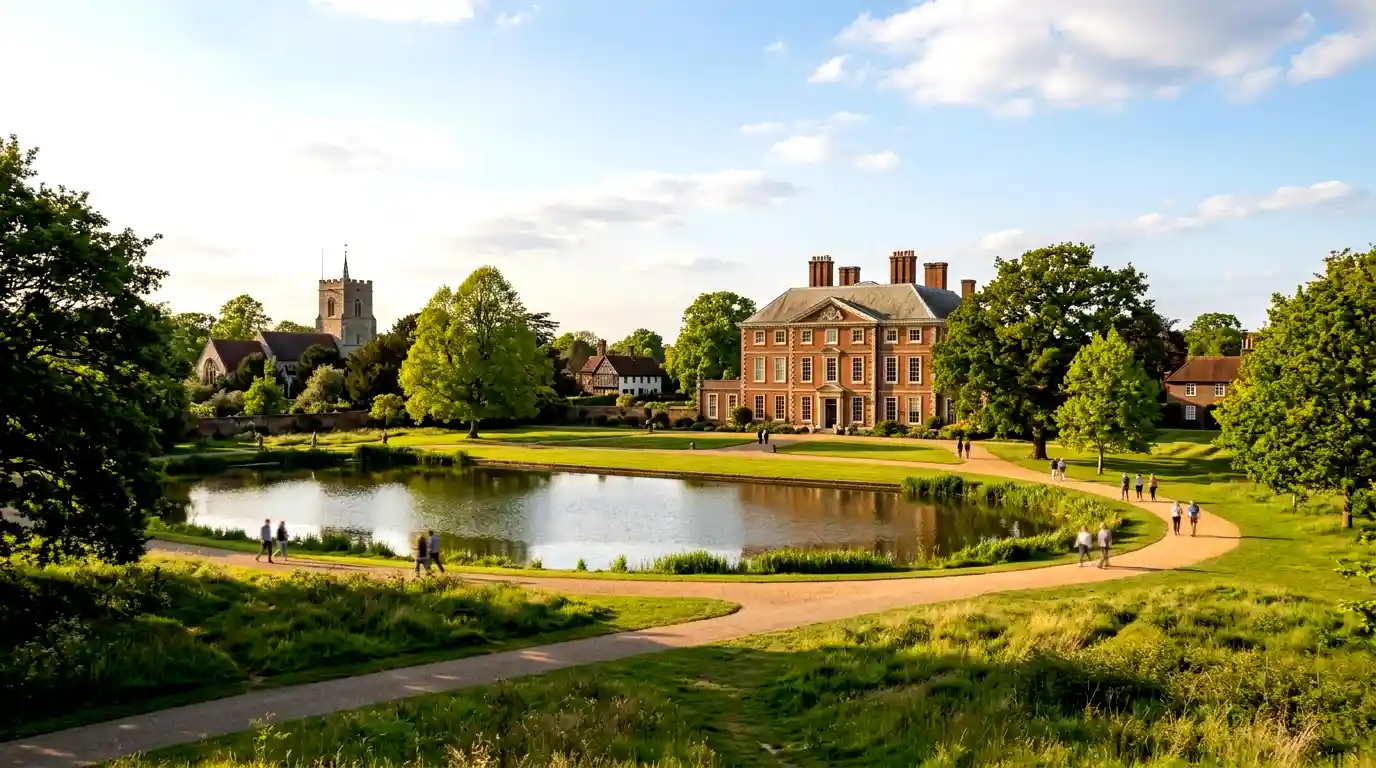
One of the best-known landmarks is Forty Hall, a stunning seventeenth-century manor house surrounded by beautiful grounds. Visitors can explore exhibitions inside the hall while also enjoying peaceful walks around the estate.
The borough is home to several heritage sites that provide insight into its past. Historic buildings, old churches, and preserved landmarks help tell the story of how this part of North London evolved from a rural settlement into a thriving part of Greater London. For history enthusiasts, spending time exploring these locations is one of the most rewarding experiences in the area.
Enjoy Beautiful Parks and Green Spaces
Exploring local parks is one of the most relaxing activities here, especially for those who enjoy spending time outdoors. One of the borough’s greatest strengths is its abundance of green spaces. Residents and visitors alike appreciate the opportunity to enjoy nature without leaving London. Trent Park is among the most popular outdoor destinations, offering extensive woodland trails and open spaces. For nature lovers, enjoying these green surroundings is one of the best things to do in Enfield throughout the year. It is an excellent location for walking, jogging, cycling, or simply relaxing in peaceful surroundings.
Grovelands Park is another favourite among locals. The park features a picturesque lake, attractive pathways, and mature trees that create a tranquil environment in every season. Families often visit for weekend outings, while photographers and nature lovers appreciate the scenic views. Hilly Fields Park is also worth exploring, particularly for those who enjoy elevated viewpoints and open landscapes. It provides a refreshing escape from busy urban life and offers plenty of space for recreation and relaxation.
Experience Shopping and Entertainment
Shopping enthusiasts will find plenty to enjoy in the borough. The town centre serves as the main commercial hub and offers a wide variety of retail options. Visitors can browse well-known high street stores, independent shops, and local businesses that cater to a range of interests and budgets.
The traditional market remains an important part of the local community, providing a lively atmosphere where shoppers can discover fresh produce, clothing, accessories, and household goods. The combination of modern retail facilities and traditional market culture creates a unique shopping experience that reflects the borough’s character. Entertainment options are equally diverse, with cinemas, leisure facilities, cafés, and community events regularly attracting visitors throughout the year.
Explore Local Food and Dining

The borough’s multicultural population has helped create a vibrant and diverse food scene.
Whether you are looking for traditional British cuisine, Mediterranean dishes, Turkish specialities, Italian favourites, or South Asian flavours, you will find plenty of excellent dining options across the area. Sampling different cuisines is one of the underrated things to do in Enfield, especially for food lovers looking to try something new.
Independent cafés and family-owned restaurants contribute significantly to the area’s character. Many establishments focus on fresh ingredients, friendly service, and authentic recipes that reflect the local cultural mix. From casual lunches and coffee breaks to evening dining experiences, visitors have no shortage of choices when it comes to food. The variety of cuisines available makes exploring the local restaurant scene an attraction in its own right.
Outdoor Activities and Recreation
For those who enjoy staying active, the borough offers numerous recreational opportunities. Walking and cycling are particularly popular thanks to the extensive network of trails and pathways. The New River Path provides a scenic route through attractive surroundings and is ideal for both relaxed strolls and regular exercise.
Sports enthusiasts can take advantage of local golf courses, football pitches, tennis courts, fitness centres, and leisure complexes located throughout the borough. Many parks also include outdoor exercise facilities, making it easy for residents and visitors to maintain an active lifestyle. The availability of both organised sports facilities and natural outdoor spaces makes this part of North London a great destination for recreation.
Family-Friendly Attractions
Families looking for enjoyable things to do in Enfield will find plenty of activities suitable for both children and adults. Local farms and wildlife attractions give younger visitors the chance to learn about animals and nature while enjoying time outdoors. Seasonal events, educational programmes, and family-focused activities make these attractions especially popular during school holidays.
Many parks throughout the borough feature modern playgrounds, open play areas, and picnic facilities. Parents appreciate the safe and welcoming environment, while children benefit from plenty of opportunities for outdoor fun and exploration. The combination of educational attractions, recreational spaces, and community events makes the area particularly appealing for families.
Arts, Culture, and Community Events

The local cultural scene continues to grow, offering residents and visitors a variety of artistic and community-focused experiences.
Throughout the year, the borough hosts festivals, exhibitions, live performances, and seasonal celebrations that bring people together and showcase local talent.
Community centres, theatres, and cultural venues regularly organise events that reflect the diversity of the local population. These activities help create a strong sense of belonging while providing entertainment for people of all ages. Whether you enjoy music, theatre, visual arts, or local festivals, there is usually something happening somewhere in the borough.
What Are Homes, Driveways, and Landscapes Like in this Area?
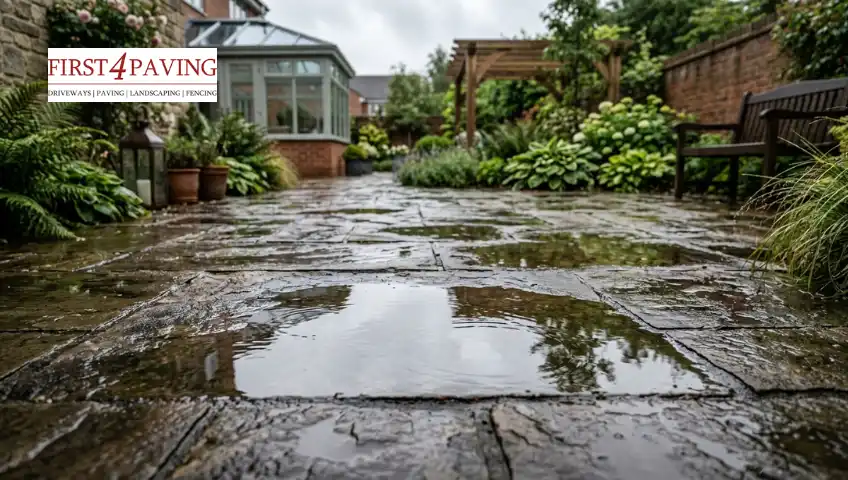
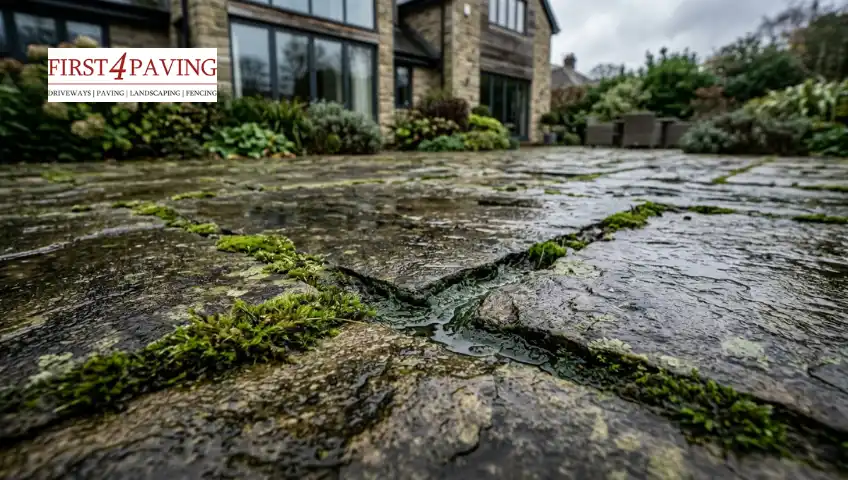
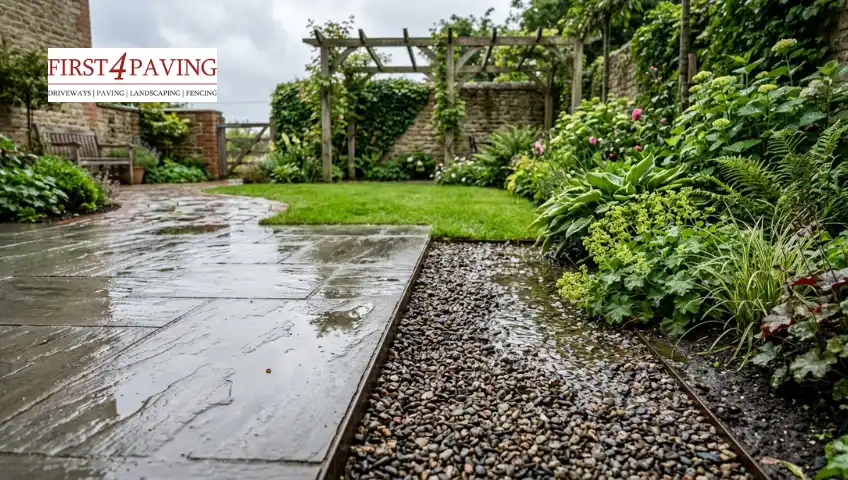
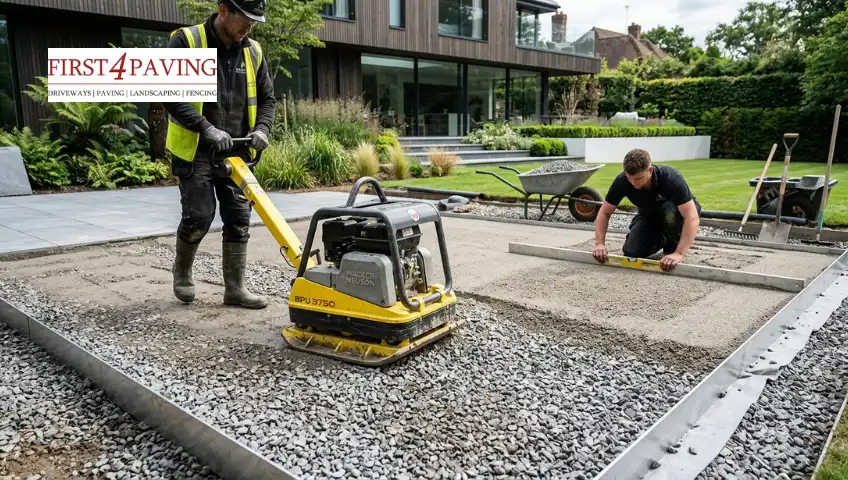
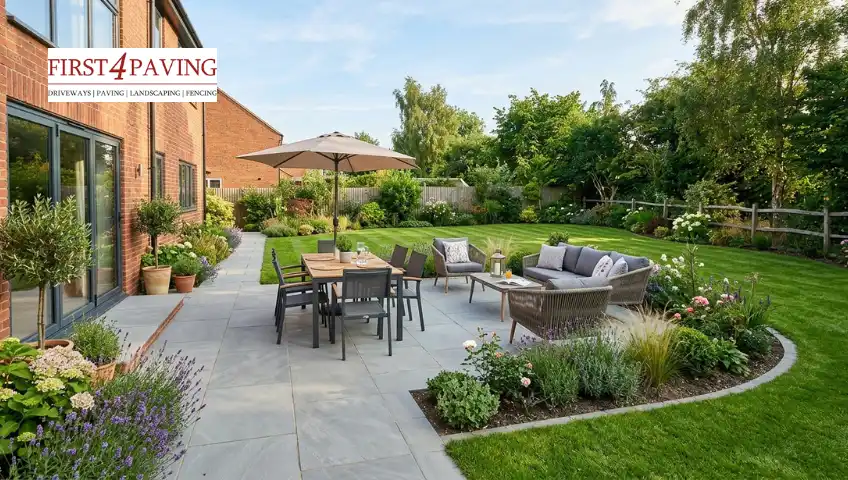
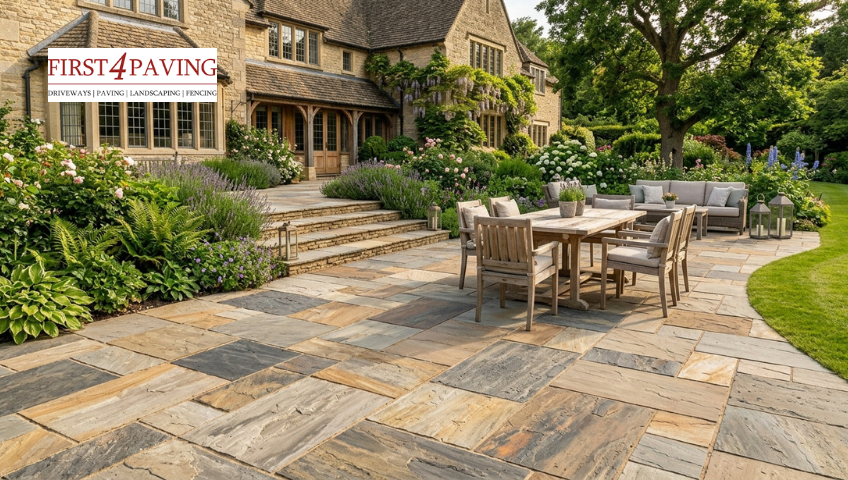
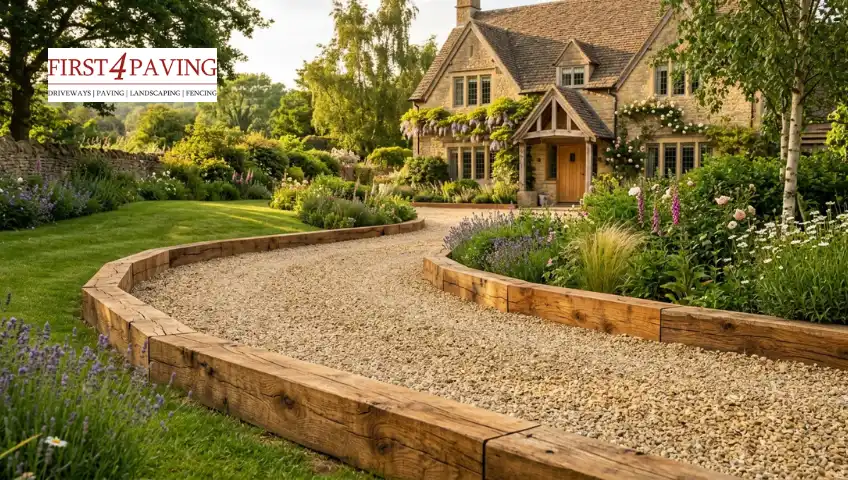
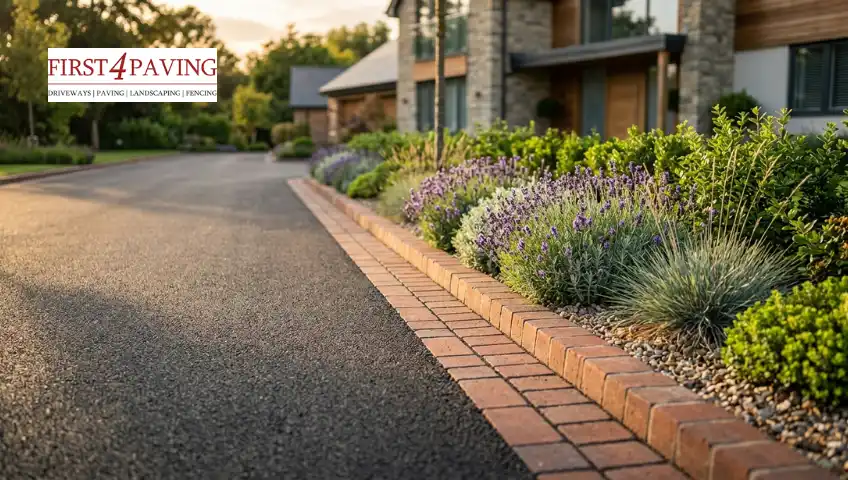
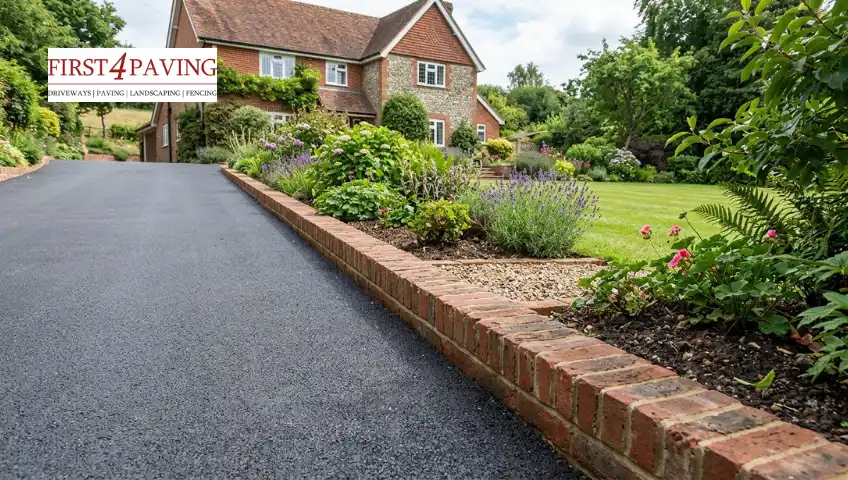
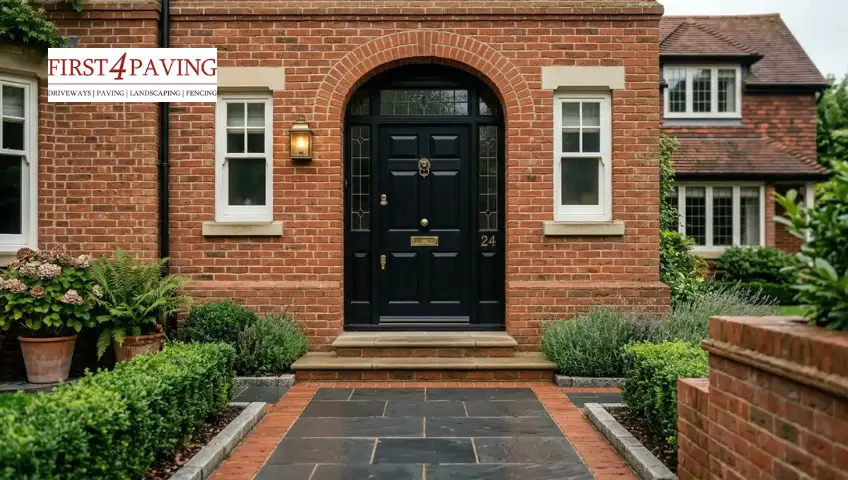
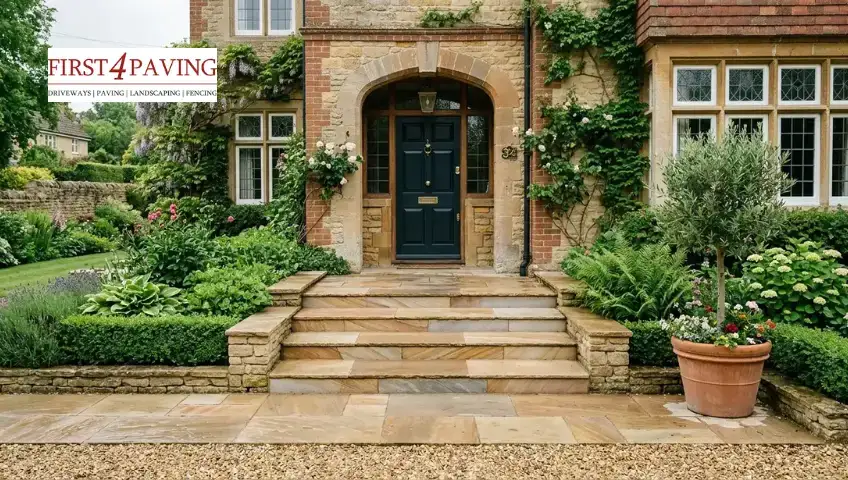
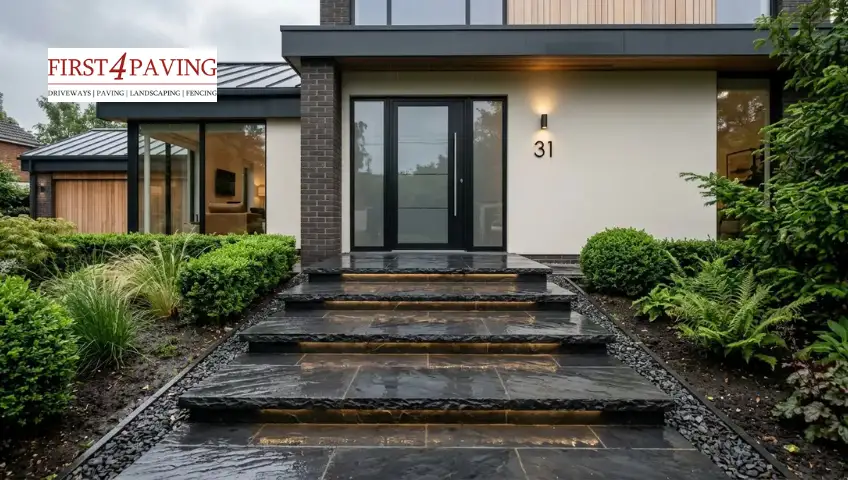
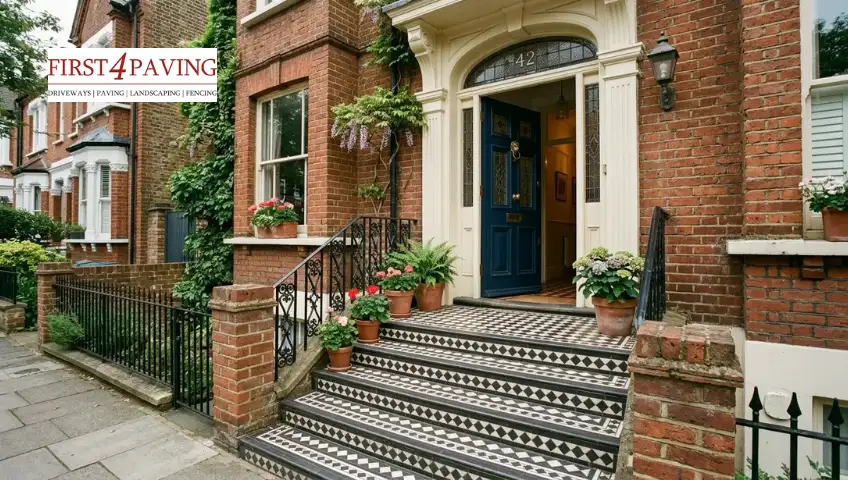
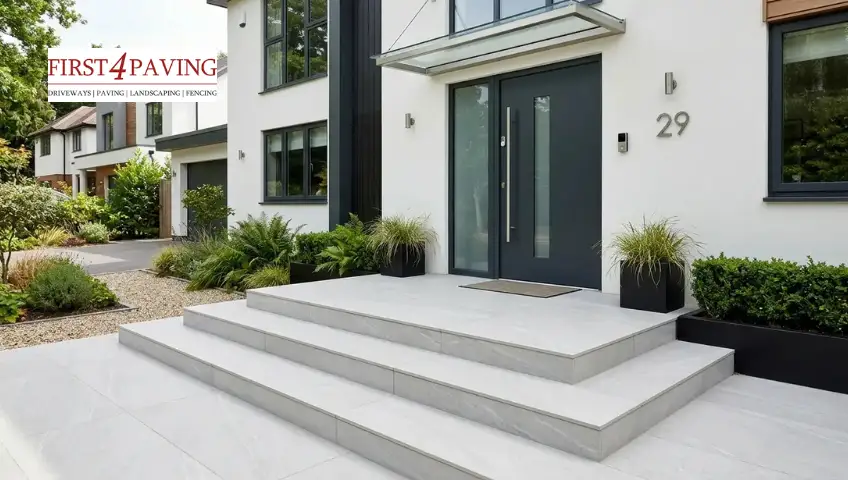
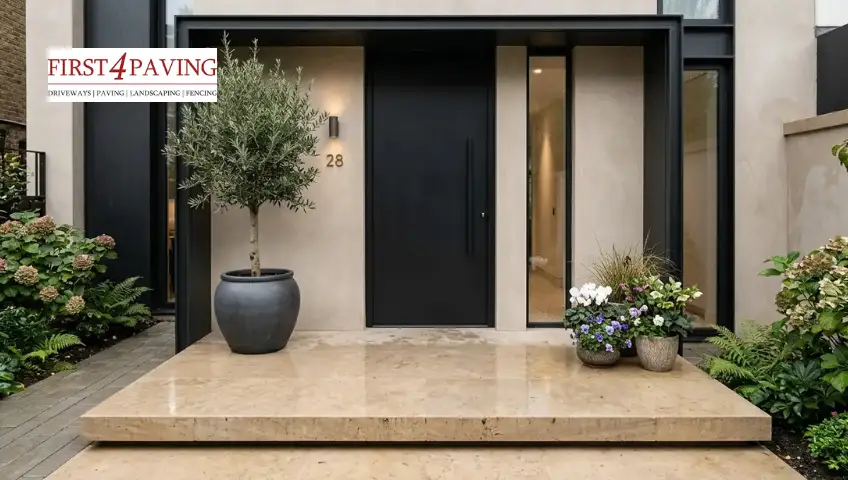
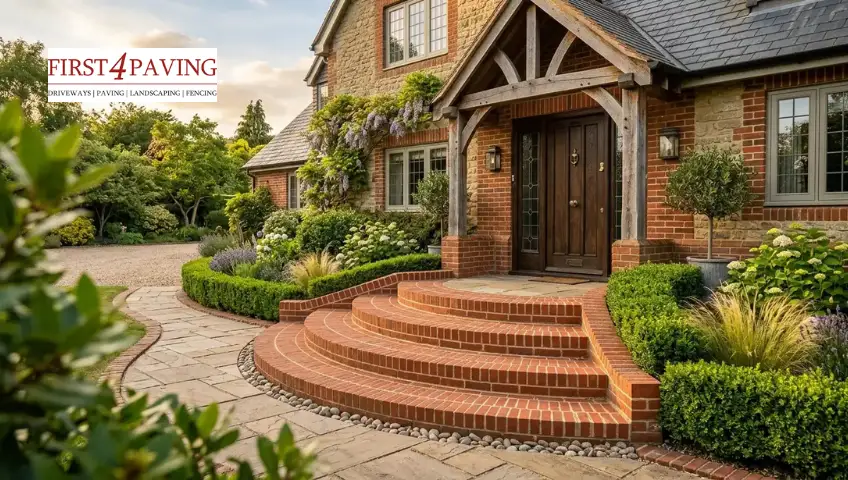
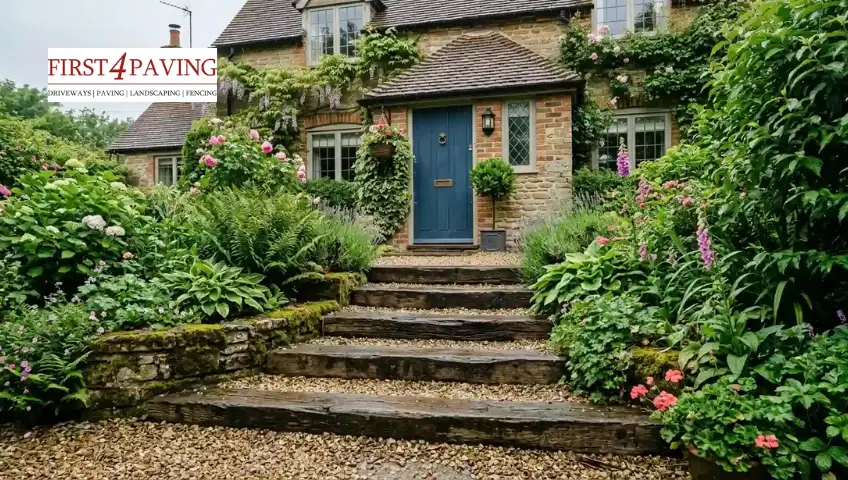
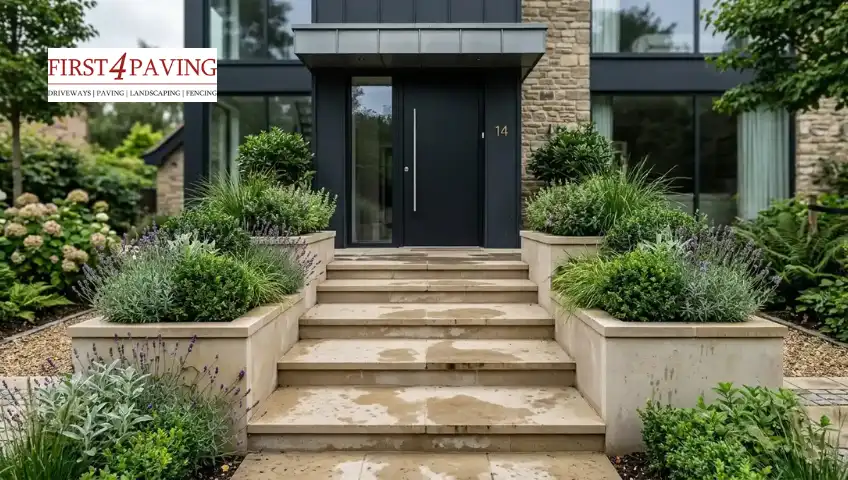
One feature that often stands out in the borough is the appearance of its residential neighbourhoods. Many properties benefit from attractive front gardens, spacious driveways, and carefully planned landscaping that enhances curb appeal. Homeowners frequently invest in block paving, resin-bound driveways, decorative stone features, and well-designed pathways that complement their homes’ style.
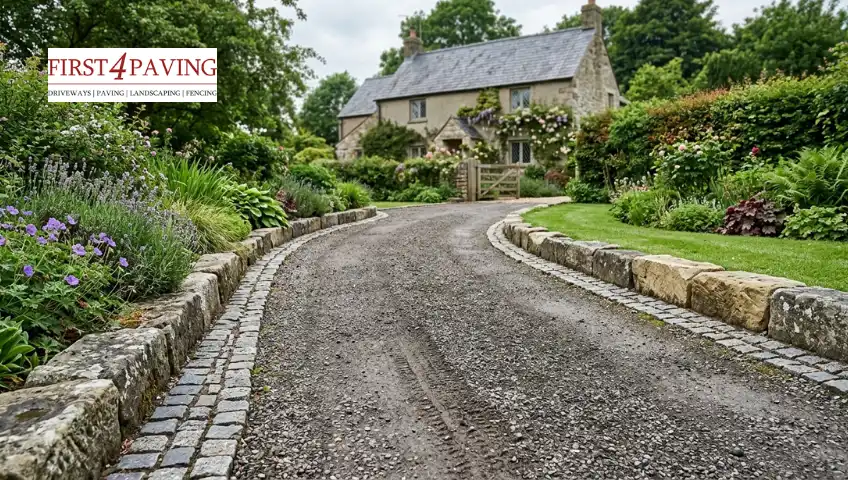
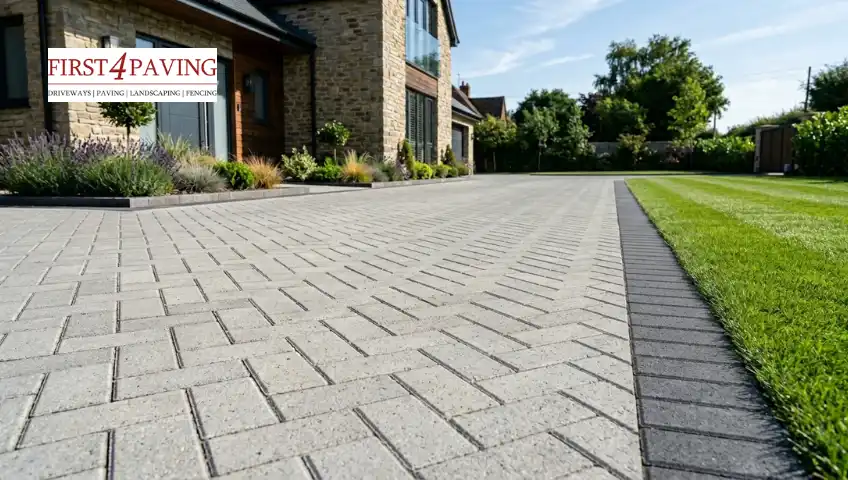
Well-maintained driveways are a common feature throughout the borough, particularly in areas such as Southgate, Winchmore Hill, and Highlands Village. Many properties benefit from attractive block paving, resin, and tarmac driveways that enhance curb appeal and add value to the home. These high-quality driveways contribute to the clean, attractive, and family-friendly character for which this area is known. For homeowners looking to upgrade their property, First 4 Paving is the best paving company in Enfield, offering professionally installed driveways that combine durability, practicality, and style.
Why People Love Living Here
The wide variety of things to do in Enfield is one of the reasons why so many people choose to live in the area. The borough offers a lifestyle that appeals to a wide range of people. Families appreciate the excellent schools, green spaces, and community atmosphere, while professionals benefit from strong transport links and easy access to Central London. The area successfully balances urban convenience with suburban comfort, making it a desirable place to live.
Residents often highlight the abundance of parks, recreational facilities, shopping opportunities, and cultural activities as key reasons for choosing the borough. The combination of modern amenities and natural beauty gives this part of North London a unique character that continues to attract new visitors and residents alike.
Conclusion
This borough offers far more than many people expect. Its rich history, beautiful parks, diverse dining options, family-friendly attractions, and thriving community spirit create an environment that is both welcoming and enjoyable. Whether you are interested in exploring historic landmarks, spending time outdoors, shopping, dining, or simply experiencing a different side of London, there is something here for everyone.
With so many things to do in Enfield, both visitors and residents can enjoy everything from historic landmarks and beautiful parks to shopping, dining, and family-friendly attractions. It remains one of North London’s most rewarding destinations to visit and explore.
FAQs
What is Enfield famous for?
Enfield is known for its historic attractions, green spaces, family-friendly atmosphere, and landmarks such as Forty Hall and Trent Park.
Is it worth visiting?
Yes, the borough offers a variety of attractions, including parks, shopping areas, cultural venues, restaurants, and historic sites, making it well worth visiting.
What are the best parks in the area?
Some of the most popular parks include Trent Park, Grovelands Park, Hilly Fields Park, and the grounds surrounding Forty Hall.
Is it a good place for families?
Yes, the borough is considered one of North London’s more family-friendly places thanks to its schools, parks, recreational facilities, and strong sense of community.
Are there good restaurants in the borough?
Yes, the local food scene includes British, Mediterranean, Turkish, Italian, Indian, and many other international cuisines.
What are the residential areas like?
Many neighbourhoods feature attractive homes, landscaped gardens, well-maintained driveways, and a welcoming suburban atmosphere.