
How long do resin driveways last

How Long Do Resin Driveways Last in Enfield? Complete Lifespan Guide

If you’re a homeowner in Enfield considering a driveway upgrade, resin driveways have likely caught your attention. Known for their sleek, modern finish and excellent drainage properties, resin driveways have become one of the most popular choices across Enfield in recent years. But one question homeowners ask most often is: how long do resin driveways actually last?

On average, a well-installed resin driveway can last between 15 and 25 years, depending on the type of resin used, installation quality, and maintenance. In this guide, we’ll break down everything you need to know about the lifespan of resin driveways in Enfield, the factors that affect durability, and how to make your driveway last even longer.

What Are Resin Driveways?

Resin driveways are surfaces made by mixing natural aggregates (like gravel or stone) with a resin binder to create a smooth, durable finish. There are two main types:

  • Resin Bound: A smooth, permeable surface where aggregate is fully mixed with resin before laying, offering better durability and a more premium finish.
  • Resin Bonded: A rougher, loose-stone finish where resin is applied to the surface first, then stone is scattered on top, generally more affordable but less durable.

How Long Do Resin Driveways Last?

When it comes to driveway investments, lifespan is one of the biggest deciding factors, and resin driveways generally perform very well in this department. On average, a properly installed resin driveway in Enfield can last anywhere between 15 and 25 years, but the exact number depends heavily on the type of resin system used.

Resin Bound Driveways (15–25 years) 

This is the more premium and durable option. Because the aggregate is fully coated and mixed with resin before being laid, the surface is smooth, seamless, and highly resistant to cracking, water damage, and general wear. With proper installation and regular maintenance, resin-bound driveways can comfortably reach and sometimes exceed the 25-year mark.

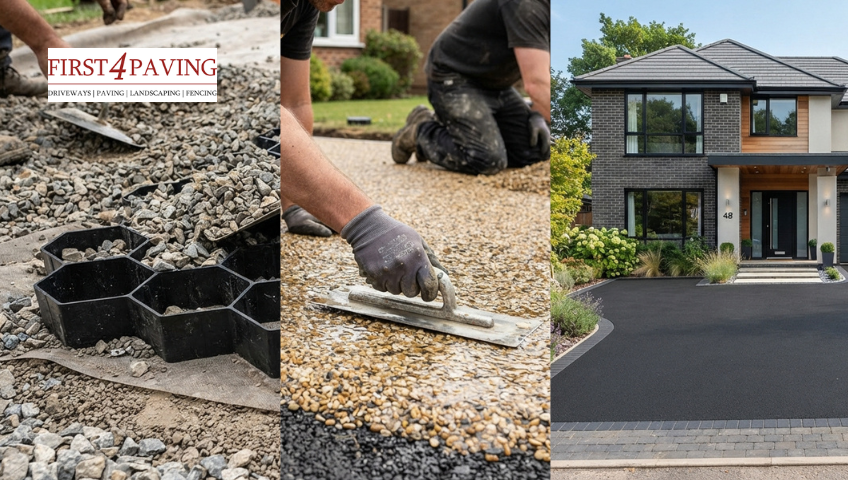
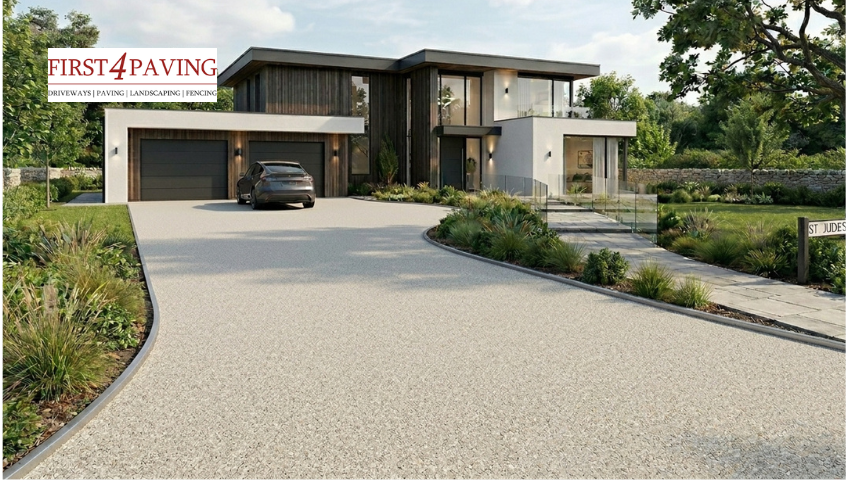
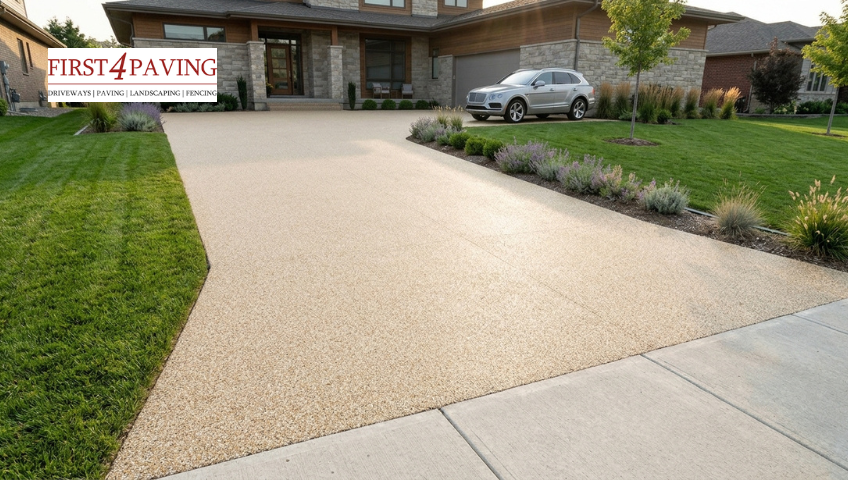
Resin Bound Driveways

Resin Bonded Driveways (8–12 years) 

This is a more budget-friendly option in which the resin is applied first, with loose stones scattered on top. While it gives a similar textured look, it’s less durable overall. Stones can dislodge over time, especially under heavy foot or vehicle traffic, which shortens its overall lifespan compared to resin-bound surfaces.

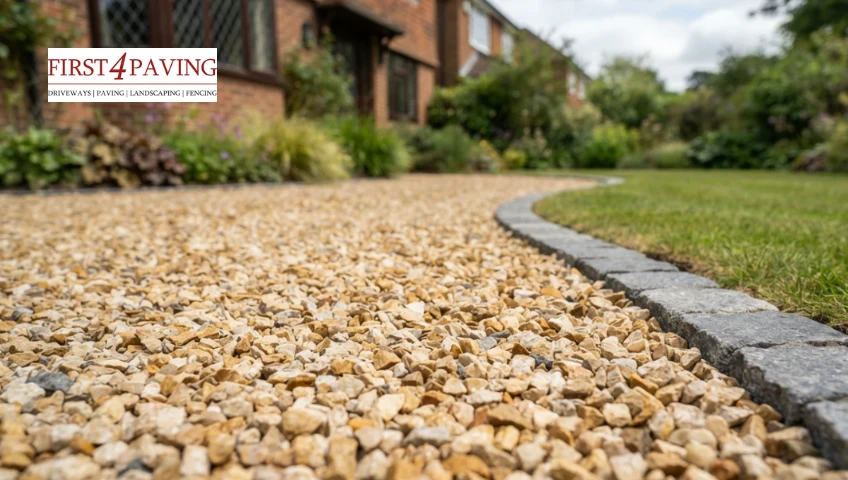
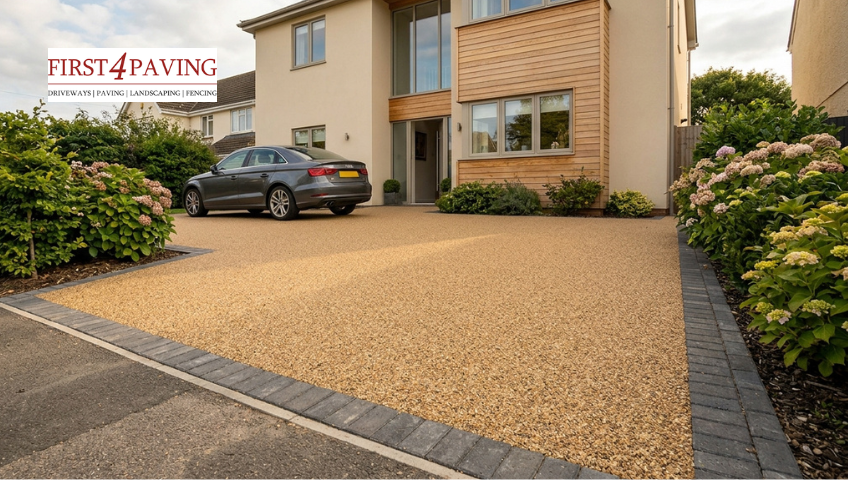
Resin Bonded Driveways

Type

Average LifespanDurability

Maintenance Level

Resin Bound

15–25 yearsHighLow
Resin Bonded8–12 yearsMedium

Medium

It’s worth noting that these figures represent average lifespans under normal conditions. A resin driveway installed by an experienced, qualified contractor using high-quality, UV-stable resin and a properly compacted sub-base will almost always outlast one that’s been poorly installed or made with cheaper materials. In other words, the numbers above are a realistic benchmark, but actual longevity can vary quite a bit depending on installation quality, local weather exposure, and how well the driveway is cared for over the years, all of which we’ll break down in more detail below.

Factors Affecting Resin Driveway Lifespan in Enfield

Several local and practical factors influence how long your resin driveway will last.

Weather Conditions in Enfield

Enfield experiences a typical UK climate: frequent rain, occasional frost, and seasonal temperature shifts. Resin bound driveways handle this well due to their permeable design, which prevents water pooling and reduces frost damage. However, poor installation can make driveways more vulnerable to cracking during colder months.

Quality of Installation

Professional installation is one of the biggest factors in driveway longevity. A poorly mixed resin ratio or uneven application can lead to premature cracking, discolouration, or surface breakdown within just a few years.

Sub-base Preparation

A strong, well-compacted sub-base is essential. Without it, the surface can shift, crack, or develop potholes over time regardless of how good the resin itself is.

Material & Resin Quality

Not all resins are equal. UV-stable, high-grade resins resist yellowing and degradation far better than cheaper alternatives, especially under prolonged sun exposure.

Traffic & Usage

Driveways that regularly handle heavy vehicles or are used frequently may show wear sooner than those with lighter, occasional use.

Maintenance Routine

Routine cleaning and periodic resealing significantly extend a resin driveway’s life, keeping it looking newer for longer.

Warning Signs Your Resin Driveway Needs Attention

Watch out for these common warning signs:

  • Visible cracks or surface splitting
  • Fading or discolouration from UV exposure
  • Weeds or moss growing through the surface
  • Poor drainage or water pooling
  • Loose stones or a “crumbly” texture

If you notice any of these, it may be time for repairs or resurfacing.
How to Extend Your Resin Driveway’s Lifespan

  • Clean regularly: Sweep debris and pressure-wash occasionally to prevent buildup.
  • Reseal every 5–7 years: To restore UV protection and surface strength.
  • Avoid harsh chemicals: Stick to mild cleaning solutions to prevent resin breakdown.
  • Limit heavy vehicle use: Avoid parking excessively heavy vehicles for prolonged periods.
  • Address cracks early: Small repairs now prevent bigger, costlier problems later.

Is a Resin Driveway Worth It for Enfield Homeowners?

Given its 15–25 year lifespan, low maintenance needs, and attractive appearance, a resin driveway is a solid long-term investment. It can also boost curb appeal and property value — an important consideration in Enfield’s competitive housing market.

That’s exactly why so many local homeowners trust First4 Paving, a leading driveway company in Enfield, to deliver high-quality resin Driveway services that stand the test of time. Whether you’re upgrading your existing driveway or starting fresh, our experienced team ensures a finish that’s built to last.

Conclusion

Resin driveways offer an excellent balance of durability, low maintenance, and modern style, making them a popular choice for homeowners across Enfield. With proper installation and regular care, a resin-bound driveway can easily last 15 to 25 years, while resin-bonded options typically last 8 to 12 years.

If you’re considering a new driveway, contact us today for a free, no-obligation quote and let Enfield’s trusted resin driveway experts bring your vision to life.

FAQs

Do resin driveways crack in cold weather? 

Resin bound driveways are designed to be permeable and frost-resistant, but poor installation can increase the risk of cracking in freezing temperatures.

How often should resin driveways be resealed? 

Most experts recommend resealing every 5–7 years to maintain UV protection and surface strength.

Can a damaged resin driveway be repaired? 

Yes, minor cracks and surface damage can often be repaired without needing a full replacement, especially if addressed early.

Is a resin driveway suitable for Enfield’s climate? 

Yes, resin-bound driveways, in particular, handle Enfield’s variable, rainy weather well thanks to their permeable, frost-resistant design.

how to seal a driveway in Enfield

How to Seal a Driveway in Enfield and Make It Last for Years

Most driveways in Enfield are silently deteriorating and the owners have no idea. A few hairline cracks here, some fading colour there, weeds pushing through the joints. It looks like normal wear and tear. But underneath, water is working its way in, freezing in winter, and slowly breaking the surface apart from the inside.

The fix is simpler than you think. A quality driveway sealer, applied correctly, creates a protective barrier that stops water, blocks stains, prevents weeds, and keeps your driveway looking its best for years. If you’re wondering how to seal a driveway in Enfield, this step-by-step guide explains everything you need to know to achieve a long-lasting finish.

Why Sealing a Driveway Matters

The benefits of sealing a driveway go well beyond appearance. A quality driveway sealer creates a protective barrier that helps protect your driveway from the weather, vehicle traffic, and everyday wear.

  • Water penetration: Water seeping into cracks can freeze and expand during winter, causing existing damage to worsen over time.
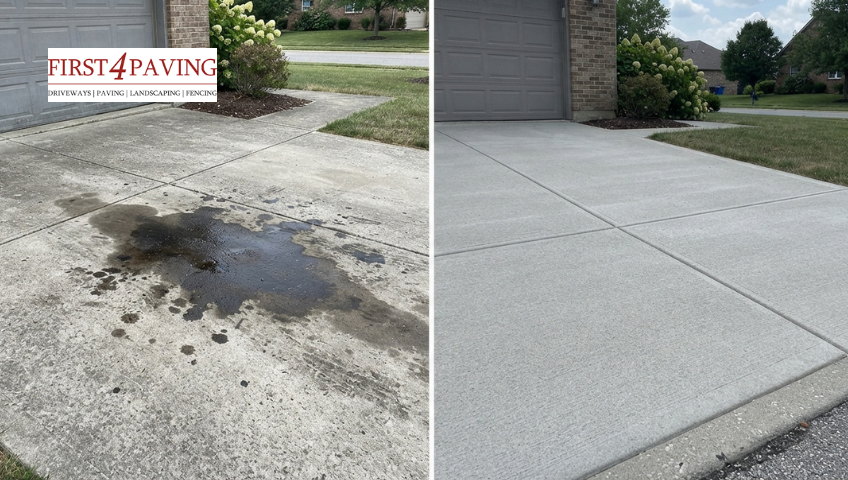
  • Oil and fuel stains: Unsealed surfaces absorb spills quickly, often leaving permanent marks. A sealed driveway makes stains much easier to clean.
  • Weed growth: Sealer helps lock in jointing sand, reducing the gaps where weeds can take root, particularly on block paving driveways.
  • UV fading: Prolonged exposure to sunlight can cause tarmac, concrete, and resin surfaces to lose their colour. Sealing helps preserve their appearance for longer.
  • General surface wear: Daily vehicle and foot traffic gradually wear down driveway surfaces. A protective sealant adds an extra layer of durability.

For homeowners in Enfield, regular driveway sealing is one of the most cost-effective ways to extend the lifespan of a driveway and reduce the likelihood of costly repairs.

Signs Your Driveway Needs Sealing

Not sure if it is time to seal your driveway? Here are some of the most common warning signs:

  • The surface has lost its original colour and appears faded or dull
  • Water absorbs into the surface rather than beading on top
  • Weeds are growing through block paving joints
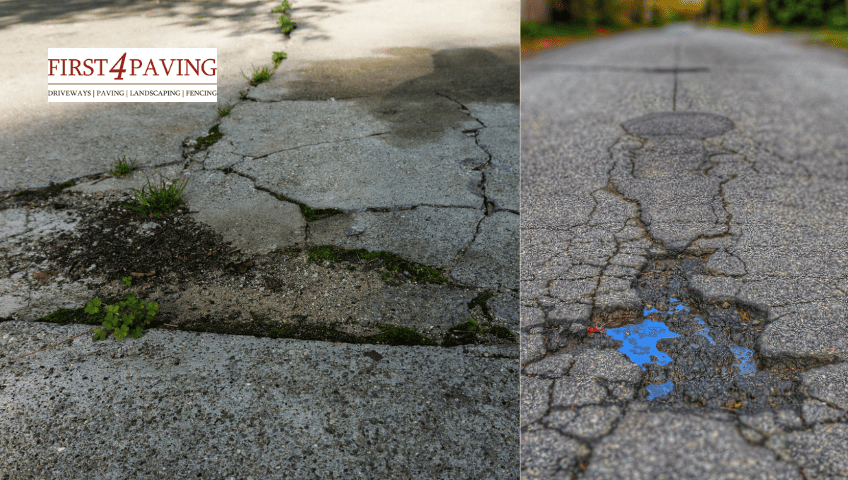
  • Small cracks are beginning to appear
  • Oil, dirt, and tyre marks are becoming difficult to remove
  • Jointing sand is washing out between paving blocks

cracked driveways in Enfield

Spotting these signs early can prevent expensive repairs later on. If you’re seeing more than one or two of these on your driveway, it’s worth speaking to a professional before the damage gets worse. A quick inspection from an experienced driveway contractor in Enfield can save you a lot of money down the line.

How to Seal a Driveway in Enfield Step by Step

Whether you are tackling this as a DIY project or preparing for a professional visit, understanding how to seal a driveway step by step helps you get the best possible result.

What You Will Need

  • Pressure washer or stiff brush and hosepipe
  • Weed killer (if required)
  • Crack filler suitable for your surface type
  • Kiln-dried sand (for block paving joints)
  • Appropriate driveway sealer for your surface
  • Long-handled squeegee, brush, or roller
  • Protective gloves and old clothing

Step 1 — Choose the Right Conditions

Sealing driveway surfaces is weather-dependent. You need at least two dry days and a temperature above 10°C. Avoid sealing in direct summer sun as the product can dry too quickly. Late summer or early autumn is ideal for UK homes.

Step 2 — Clear and Clean the Surface

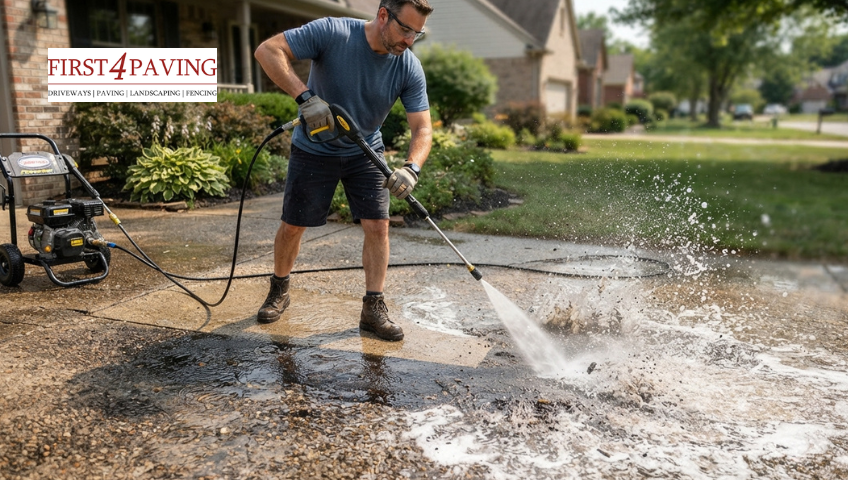
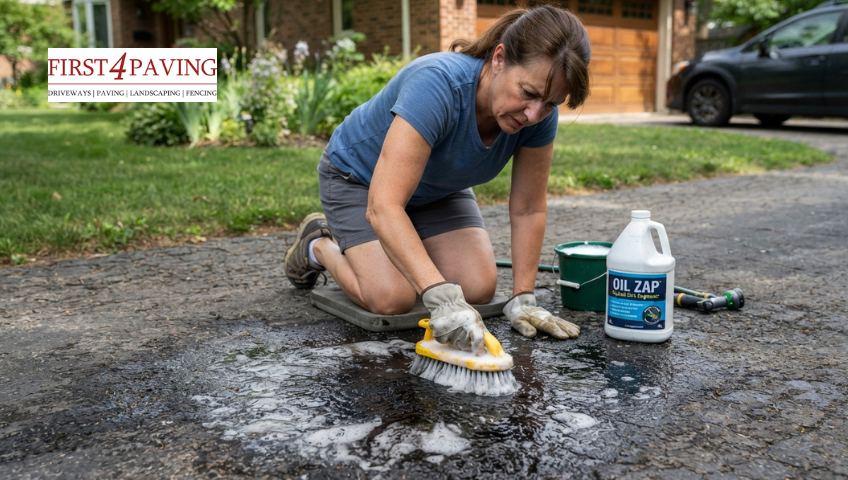
Remove all vehicles and debris. Sweep the driveway, then pressure wash the entire surface. Use a specialist driveway degreaser on oil stains and allow it to work before rinsing. Treat any weeds with weed killer and sweep out dead growth from the joints. Allow the surface to dry fully typically 24 to 48 hours.
Step 3 — Repair Cracks and Damage

Fill any cracks using a suitable filler for your surface type. Never seal over existing damage it hides the problem but does not fix it. For block paving, re-brush kiln-dried sand into the joints at this stage.

Step 4 — Apply the Driveway Sealer

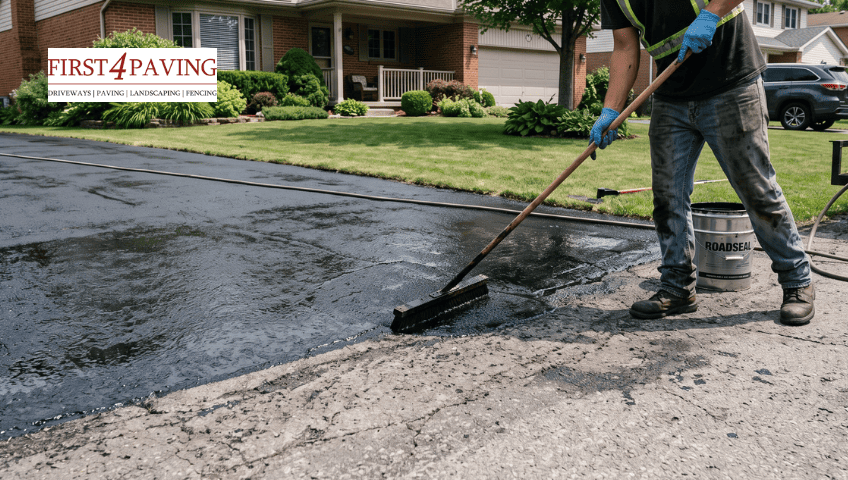
To seal a driveway like a professional, preparation is everything, but application technique matters just as much. Shake or stir the sealer well before opening. Work from the furthest point back towards the street to avoid walking on wet sealer. Apply thin, even coats rather than one thick application. Thick coats take longer to cure, are more likely to streak, and can leave a tacky finish.

Step 5 — Second Coat and Curing

Many sealers benefit from a second coat once the first has dried, check the manufacturer’s instructions. Foot traffic can usually resume after a few hours. Keep vehicles off for at least 24 to 48 hours.

Can You Seal a Driveway Yourself?

If you’re planning how to seal a driveway in Enfield yourself, it is possible, but it is not as simple as it looks. Sealing a driveway yourself is achievable, though the results depend almost entirely on preparation. Many homeowners underestimate this part. Skipping a proper clean, missing cracks, or applying sealer in the wrong conditions can leave a finish that peels or wears away within months.

DIY sealants are also less concentrated than trade-grade products, and a domestic pressure washer rarely matches professional equipment. For a small driveway in good condition, results can be acceptable. For anything larger or more damaged, the gap between DIY and a professional finish becomes difficult to close.

Professional help is worth considering when there is significant cracking, weed damage, or when a long-lasting result is the priority. 

How Long Does Driveway Sealer Last?

Surface TypeTypical Sealer Lifespan
Tarmac / Asphalt2–4 years
Block Paving3–5 years
Concrete2–5 years
Resin Bound5–10 years

For most residential driveways in Enfield, resealing every 2 to 3 years is the right routine. Block paving may need more frequent attention as jointing sand washes out over time.

Common Driveway Sealing Mistakes to Avoid

Even with good intentions, these common driveway sealing mistakes reduce the effectiveness of the sealant:

  • Sealing over a dirty surface: Dirt and oil trapped under sealer prevent proper adhesion and cause peeling.
  • Applying in cold or wet conditions: Below 10°C or in damp weather leads to poor bonding and uneven finish.
  • Coats that are too thick: thick coats streak, stay tacky, and wear unevenly.
  • Ignoring cracks before sealing: Always repair first, never seal over damage.
  • Using the wrong product: Always match the sealer to your specific surface type.

Driveway Maintenance Tips for Enfield Homeowners

After sealing, regular care preserves the finish and extends the time before your next reseal is needed. These driveway maintenance tips are especially relevant for UK homes, where wet winters and temperature changes put outdoor surfaces under constant pressure.

  • Sweep leaves and debris regularly
  • Clean oil spills as soon as they happen
  • Avoid harsh chemicals such as bleach or solvents
  • Use sand or driveway-safe grit in winter instead of salt-based deicers
  • Reapply sealer when you notice protection starting to fade

Knowing how to maintain a sealed driveway is the simplest way to avoid unnecessary repairs and keep your driveway looking its best year-round.

At First 4 Paving, we have years of experience caring for driveways across Enfield and the surrounding areas. Whether you have block paving, tarmac, resin, or concrete, our team provides expert cleaning, repairs, and sealing to keep your driveway protected and looking great. Contact our team today for a free driveway assessment and no-obligation quote.

how to seal a driveway in Enfield

Conclusion

Knowing how to seal a driveway in Enfield is one of the most effective ways to protect it from the UK’s wet winters, frost, and everyday wear. Clean the surface properly, use the right sealer for your surface type, and stick to a regular maintenance routine and your driveway will stay in great condition for years to come.

If you are based in Enfield and need a professional finish, the team at First 4 Paving specialises in driveways Enfield homeowners trust get in touch and we will be happy to help.

FAQ

How long does driveway sealer last?

Between 2 and 5 years depending on the surface type, product quality, and traffic levels.

Does sealing prevent weeds?

It significantly reduces weed growth by locking in jointing sand, though annual maintenance is still recommended.

Does driveway sealer protect against rain?

Yes. A quality driveway sealer creates a protective barrier that helps prevent water from soaking into the surface, reducing the risk of cracks, erosion, and frost damage.

How often should you seal a driveway?

Most driveways should be resealed every 2 to 5 years, depending on the type of surface, weather conditions, and the amount of traffic they receive.


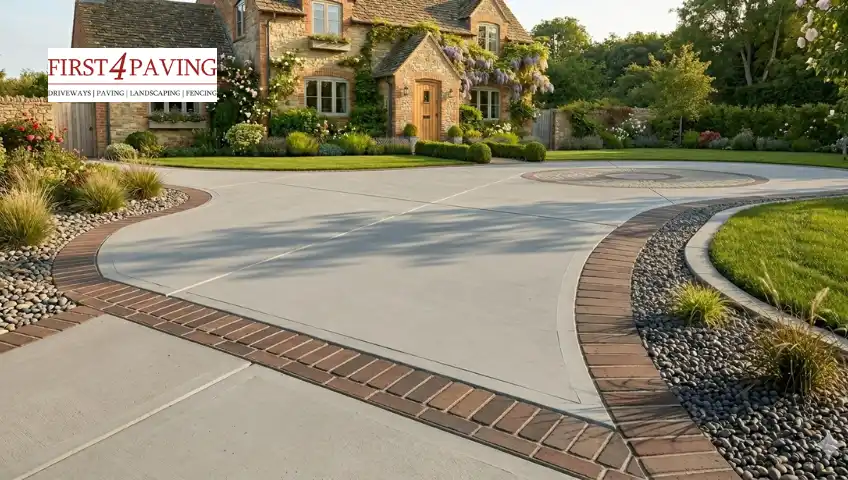
A smooth concrete driveway features a curved brick border that separates it from dark grey river stones and a neat green lawn in front of a traditional stone house

10 Driveway Edging Ideas to Improve Kerb Appeal

Most homeowners spend thousands on a new driveway surface, but overlook the one detail that keeps everything looking neat. Without proper edging, even a high-quality block paving or tarmac driveway can start to lose its appearance within a short time. Gravel spreads onto the lawn, paving blocks move out of line, and grass slowly creeps in around the edges.

The right driveway edging can make a noticeable difference without the expense of a full redesign. A well-chosen border helps keep the surface tidy, reduces movement around the edges, and improves the overall appearance of your entrance.

In this guide, you’ll discover practical and stylish driveway edging ideas for both modern and traditional UK homes, along with advice on which materials work best, what to avoid, and how to choose the right option for your property.

Why Driveway Edging Matters

A driveway without proper edging can quickly start to look messy. Gravel spreads across the lawn, paving blocks shift out of place, and grass begins creeping into the sides. Over time, these small issues can make the whole front garden look untidy.

Adding strong driveway borders helps keep everything neat and easier to manage. It also gives the driveway a cleaner and more finished appearance.

Good edging offers several benefits, including:

  • Better kerb appeal
  • Cleaner and sharper driveway edges
  • Improved drainage during wet weather
  • Reduced weed growth around the borders
  • Extra support for paving, gravel, and tarmac surfaces

The right edging choice depends on your driveway material, budget, and the overall style of your property. Some homeowners prefer modern concrete driveway edging, while others choose natural stone or classic brick borders for a more traditional look.

If you are unsure where to start, a trusted driveway contractor can help you find the right fit for your property.

1. Brick Driveway Edging for a Classic Look

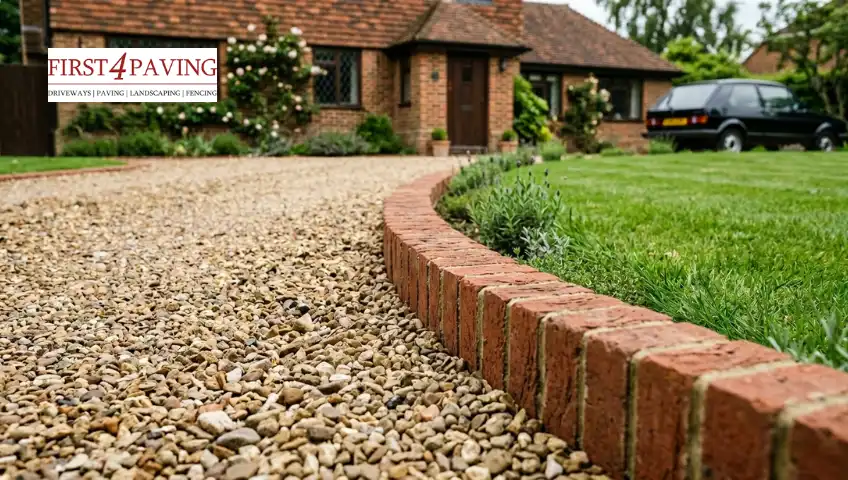
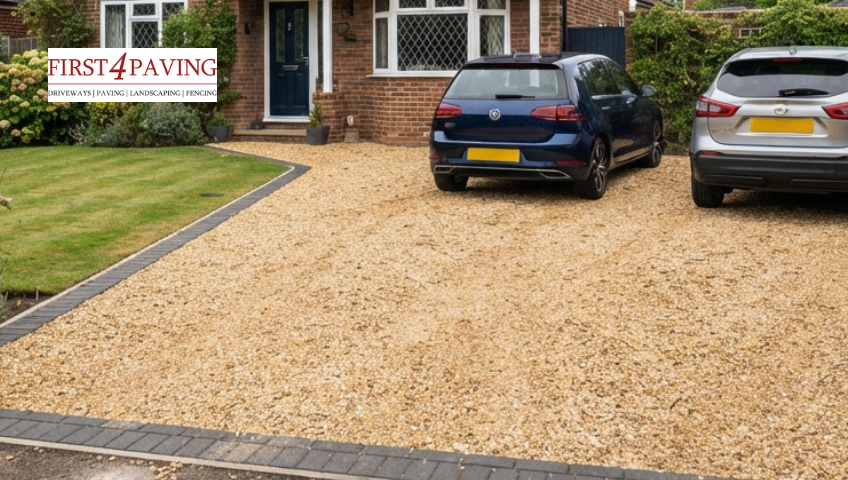
Brick edging along a gravel driveway in a UK home creating a clean border.

Brick edging is one of the most popular choices in the UK, and for good reason. It is durable, widely available, and suits almost every type of property from Victorian terraces to modern semis.

Laid in a simple soldier course (bricks stood upright end-to-end), brick edging creates a clean, defined line along the driveway. It pairs especially well with gravel, since the firm border stops stones from spreading onto paths and lawns.

Why homeowners choose brick borders:

  • Strong and weather-resistant handles freeze-thaw cycles well
  • Easy to match with existing paving or brickwork on the home
  • Creates a clear, defined edge without looking harsh
  • Suits curved as well as straight driveways

Common styles: Soldier course, herringbone pattern, double brick line, curved edging

2. Stone Driveway Edging for a Natural Appearance

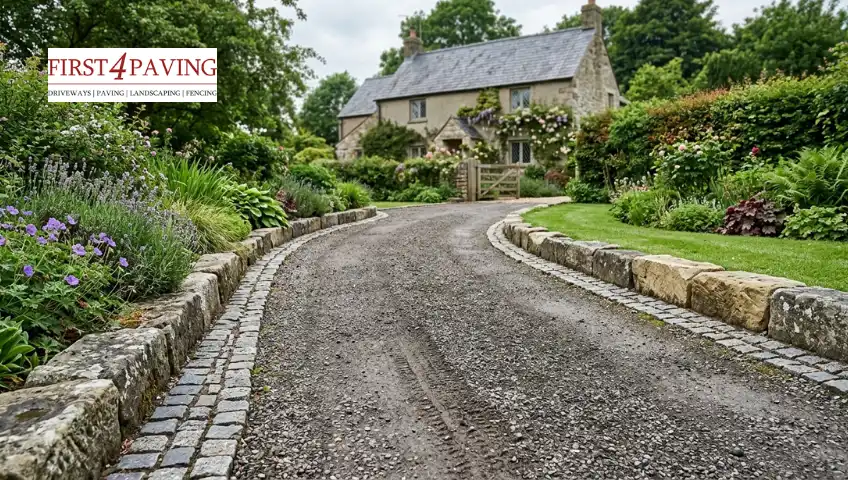
A gravel driveway lined with cobblestone borders curves toward a charming stone cottage with lush gardens.

Stone driveway edging is a great choice if you want a soft, natural look that blends into your garden. It suits rural homes, cottages, and properties with lots of greenery, giving the driveway a more organic finish.

Natural stone also adds strength and structure, helping to keep the driveway edges firm and tidy, even with regular vehicle use.

Best Types of Driveway Edging Stones

Common options for driveway edging stones include:

  • Granite setts: premium appearance, extremely durable, and ideal for traditional driveways
  • Sandstone blocks: warm natural colour with a timeless and elegant finish
  • Limestone kerbs: smooth texture, modern look, and easy to maintain
  • Cobblestones: classic character, strong durability, and perfect for rustic designs 

These materials are strong, weather-resistant, and designed to handle heavy traffic without losing their shape.

Stone edging also works beautifully with driveway border landscaping, especially when combined with flower beds, shrubs, or grass borders. It creates a balanced look between hard surfaces and natural outdoor space.

3. Concrete Driveway Edging for Modern Homes

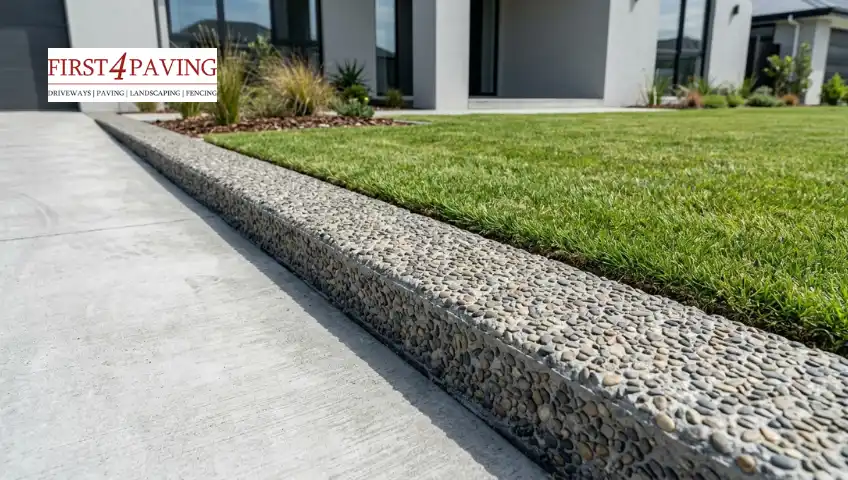
An exposed aggregate concrete edge separates a smooth concrete driveway from a neat green lawn in front of a modern house

Concrete edging suits modern homes well because it creates sharp, clean lines with very little visual fuss. It is a practical choice for large driveways and minimalist garden designs where a simple, tidy finish is the goal.

Standard concrete edging is grey and smooth, but there are also textured and stamped options that replicate the look of stone or brick at a lower price point. This makes it a useful middle-ground option for homeowners who want a premium appearance without the cost of natural materials.

Benefits:

  • One of the most affordable edging options available
  • Very low maintenance with no sealing or treatment needed
  • Long-lasting when properly installed
  • Can be tinted or textured to match surrounding surfaces

Decorative note: Exposed aggregate concrete edging adds texture and visual interest while remaining affordable. It works well alongside brushed or stamped concrete driveways.

4. Gravel Driveway Edging for Better Containment

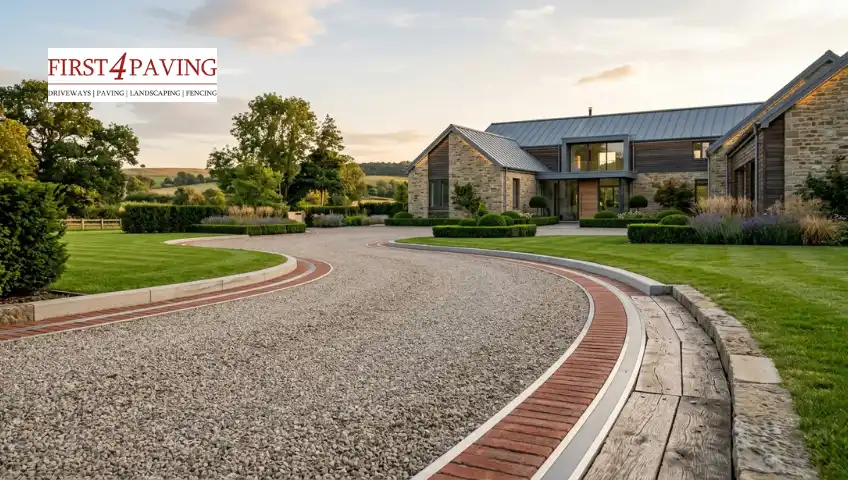
A winding gravel driveway featuring a red brick border leads toward a large, modern stone estate at sunset

Gravel driveway edging is important because loose gravel can easily spread onto lawns, paths, and roads. Good edging keeps everything in place and helps the gravel driveway stay clean and organised.

The most effective edging for gravel driveways uses rigid, stable materials that sit flush with or slightly above the surface level:

  • Brick: durable, attractive, and widely available
  • Steel or aluminium strips: slim profile, very effective at containment
  • Concrete kerbs: strong and low-maintenance
  • Timber sleepers: suit rural and cottage-style homes
  • Stone blocks: natural look with good durability

For most UK driveways, brick or metal edging gives the best combination of practicality and appearance. The border needs to be set deep enough (at least 150mm) to stay firm under the weight of vehicles turning near the edges.

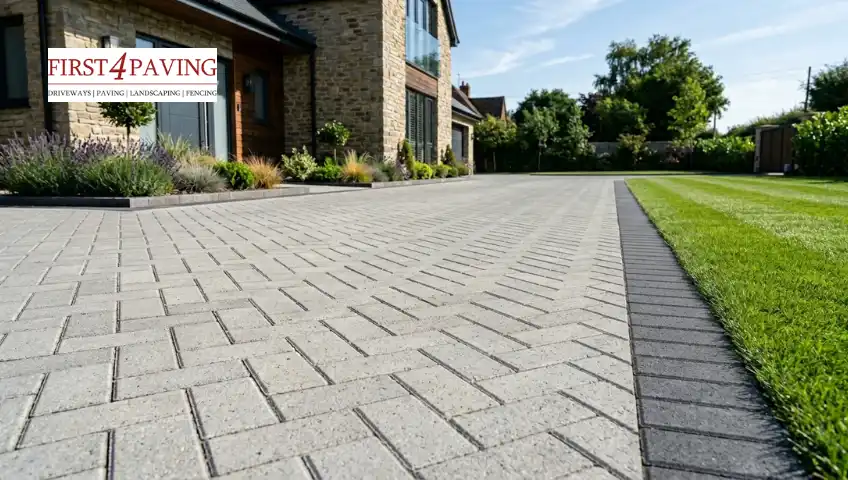
5. Block Paving Borders for a Premium Finish

A light grey block paving driveway in a herringbone pattern features a contrasting dark charcoal border alongside a green lawn.

Block paving is one of the most popular driveway choices in the UK, and adding a contrasting border takes the finish from standard to premium. A well-chosen border creates definition, adds depth, and helps the main paving stay locked in place over time.

Popular border styles:

  • Dark border blocks around lighter paving (e.g. charcoal blocks around silver-grey)
  • Contrasting textures with a smooth border against a textured main body
  • Raised edging for a more structured, architectural look
  • Curved edge designs that follow the shape of the driveway

Colour matching tip: When choosing border colours, look at the existing materials on the house, including roof tiles, window frames, and brickwork, and try to echo one of those tones. This creates a more cohesive exterior rather than a driveway that looks disconnected from the property

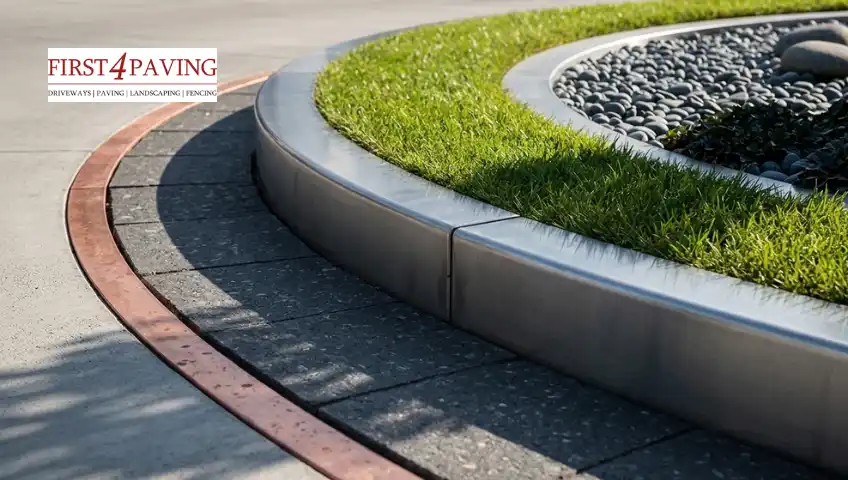
6. Metal Driveway Edging for Contemporary Look

A close-up shot of a modern, curved driveway edging design with stainless steel borders, a grass strip, and dark pebbles.

Metal driveway edging is a modern choice used in many UK homes today. Steel or aluminium strips create very clean, sharp lines that give the driveway a smart and organised finish.It works especially well in minimalist garden designs and adds a neat architectural feel to the outdoor space.

Benefits of Metal Edging

  • Slim and discreet look
  • Rust-resistant options available
  • Easy to shape around curves
  • Works well with gravel and paving

Metal edging is often used in modern driveway border ideas for homeowners who want simple, strong, low-maintenance edges.

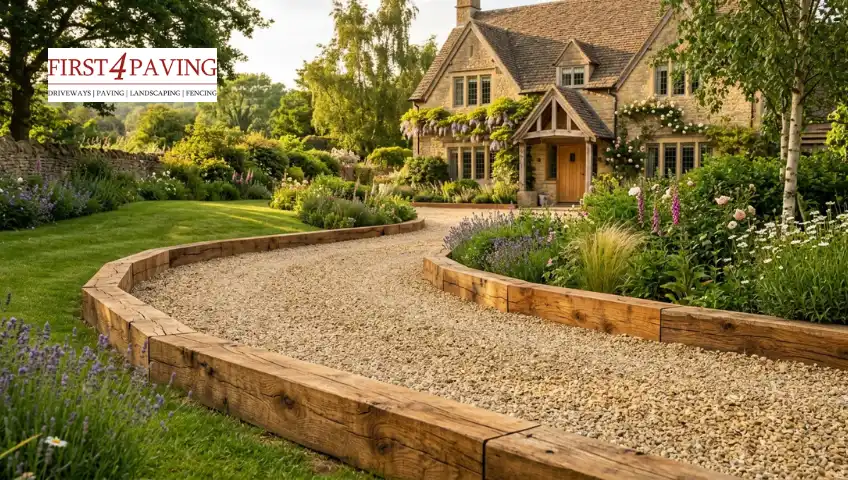
7. Timber Driveway Edging for Rustic Charm

A curved gravel path edged with wooden beams snakes through blooming gardens up to a historic stone cottage

Timber driveway edging gives a warm and natural finish that suits countryside and cottage-style homes. Made from railway sleepers or treated wood, it creates a soft border that blends nicely with gardens, grass, and gravel driveways.

It works well in rural properties, sloped driveways, and natural driveway border landscaping ideas, where a simple and relaxed look is preferred.

To make it last longer, pressure-treated timber is best as it protects against moisture and rot, helping the edging stay strong for years.

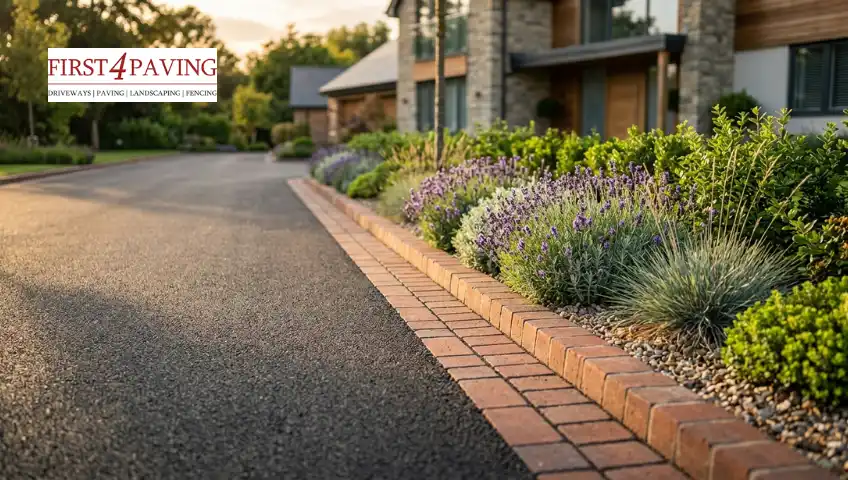
8. Tarmac Driveway Edging for Cleaner Lines

An asphalt driveway with a neat brick paver border runs alongside lush flower beds filled with purple lavender

Plain tarmac driveway surfaces are one of the most practical choices, but they can look flat and unfinished without a border to frame them. Adding edging creates a clear line between the tarmac and the surrounding garden, and also protects the edges from crumbling, which is one of the most common ways tarmac surfaces deteriorate over time.

Best border options for tarmac:

  • Brick: the most popular choice, adds colour and texture against the dark surface
  • Stone kerbs: a classic look that suits traditional properties
  • Concrete edges: clean and affordable
  • Block paving trims: adds a premium feel

Soft landscaping: One of the most effective ways to improve the appearance of a tarmac driveway is to add planted borders alongside the edging. Low-growing plants, ornamental grasses, or lavender alongside a brick border softens the dark surface and creates a more welcoming entrance.

9. Raised Edging for Extra Definition

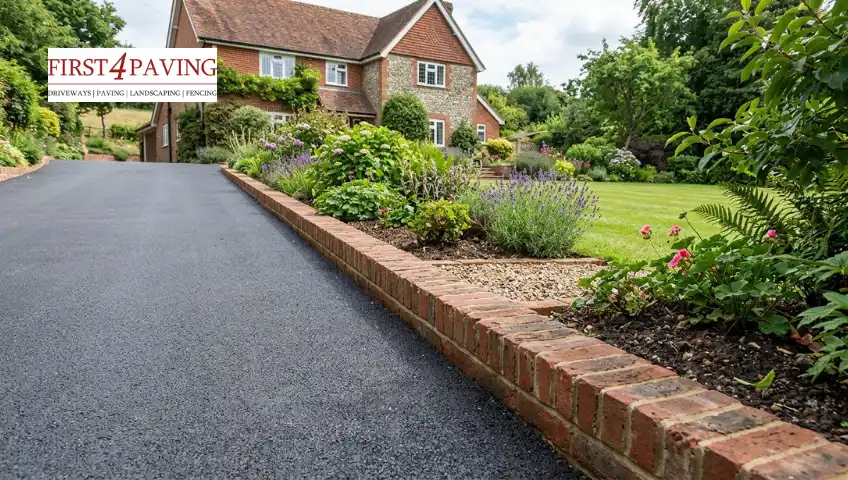
A smooth asphalt driveway with a low brick retaining wall leads up to a large brick and stone country house

Raised edging is a great way to create a clear, well-defined boundary between your driveway and the surrounding landscape. It adds structure, improves visual appeal, and helps keep everything neatly in place.

This type of edging is particularly effective for sloped driveways or properties with large front gardens, where natural movement of materials can be an issue.

Practical benefits:

  • Prevents gravel and loose materials from spreading, even on a slope
  • Improves drainage by directing water away from the surface
  • Protects adjacent flower beds and lawns from vehicle encroachment
  • Adds visible structure that enhances the overall design

You can build raised edging using a range of materials such as bricks, concrete blocks, or natural stone, depending on the style and finish you want to achieve. It also works particularly well when combined with a professionally designed patio, creating a seamless transition between your driveway and outdoor living area. 

10. Decorative Driveway Edging for a Stylish Finish

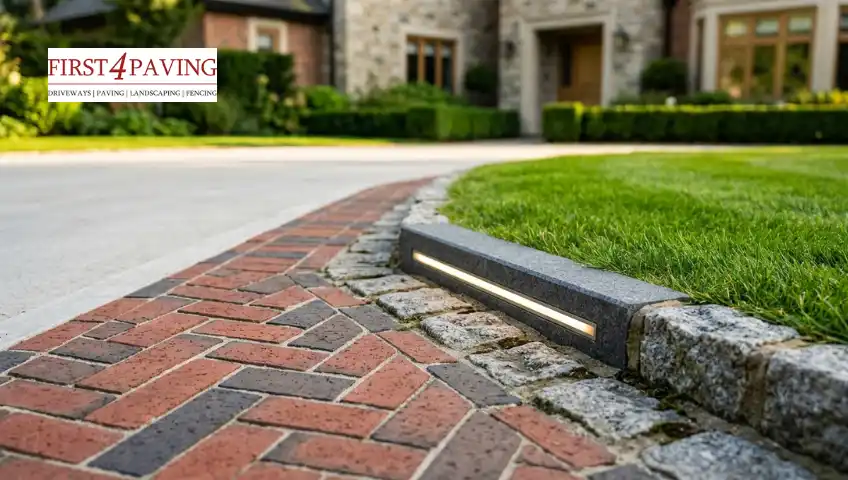
A herringbone brick driveway with cobblestone trim features an integrated stone curb light beside a green lawn

Decorative driveway edging is perfect for homeowners who want their driveway to stand out while still keeping a clean and organised appearance. It combines practical borders with visual design features to create a more attractive entrance.

Popular decorative edging ideas include:

  • Patterned brick borders for added texture
  • Cobblestone edging for a traditional UK look
  • LED lighting along driveway edges for modern homes
  • Mixed stone and gravel borders for contrast
  • Decorative kerbs with planted flower strips

These edging styles work well for both modern and traditional properties and can instantly improve kerb appeal without changing the entire driveway surface.

How to Choose the Best Driveway Edging

The best driveway edging depends on several factors.

Consider Your Driveway Material

Different edging styles suit different surfaces.

For example:

  • Gravel works well with brick and metal
  • Block paving suits contrasting borders
  • Tarmac looks cleaner with stone or brick edging
  • Concrete pairs nicely with modern kerbs

Think About Maintenance

Some materials need more care than others.

  • Timber may require treatment
  • Gravel needs occasional levelling
  • Concrete and stone usually need less upkeep

Match the Style of Your Home

Traditional homes often suit brick and natural stone. Modern properties usually look better with sleek concrete or metal edging.

Choosing matching materials helps create a more balanced exterior design.

Common Mistakes to Avoid

Here are some key mistakes homeowners often make when installing driveway edging:

  • Weak Foundations: Poor or shallow installation can cause the edging to shift, sink, or crack over time, reducing both strength and appearance.
  • Ignoring Drainage: Failing to plan proper drainage can lead to water pooling, puddles, and long-term surface damage around the driveway edges.
  • Choosing the Wrong Materials: Not all edging materials are suitable for every driveway. Some may not withstand heavy vehicle pressure or steep gradients.
  • Poor Installation Quality: Uneven placement or lack of alignment can make the edging look untidy and reduce its effectiveness.
  • Overlooking Durability Needs: Always select strong, weather-resistant materials designed for outdoor and long-term use to avoid early wear and replacement issues.

Ready to upgrade your driveway? As experienced driveway contractors in Enfield, we can help you choose the right edging and materials for a finish that lasts. Contact us today for a free quote.

Conclusion

The right driveway edging can completely change the look and feel of your outdoor space. From classic brick borders to modern concrete and natural stone finishes, there are plenty of driveway edging ideas that improve both appearance and practicality. Strong edging helps keep your driveway neat, supports the surface, and adds long-lasting curb appeal to your property. By choosing materials that match your home style and driveway surface, you can create a cleaner, more organised, and more attractive entrance that stands out for years to come.

FAQ’S

1. What is driveway edging, and why do I need it?

Driveway edging is a border that defines the edges of your driveway and keeps the surface in place. It is needed because it improves appearance, prevents the spreading of materials, and adds long-term strength to the driveway.

2. How do I choose the right driveway edging material?

You should choose the material based on your driveway type, style, and budget. For example, stone and brick work well for durability, while metal or concrete suits modern designs.

3. Does driveway edging help with drainage?

Yes, driveway edging can improve drainage by guiding water away from the surface. It helps reduce water pooling and keeps the edges stable during heavy rain.

4. What is the best material for durable driveway edging?

Stone, brick, and concrete are the most durable options for driveway edging. They can handle heavy traffic and weather conditions without getting damaged easily.

5. Can I install driveway edging myself?

Yes, simple edging like bricks or pavers can be installed as a DIY project with basic tools. However, complex or heavy materials are better installed by professionals for long-lasting results.